AgeCheck: Age Verification app for Wix is designed for creating and displaying an age verification popup on your Wix website. The app has simple settings, where users can customize the popup, redirect those who click the reject button, and set the app to remember a visitor’s age choice for a specified period of time.
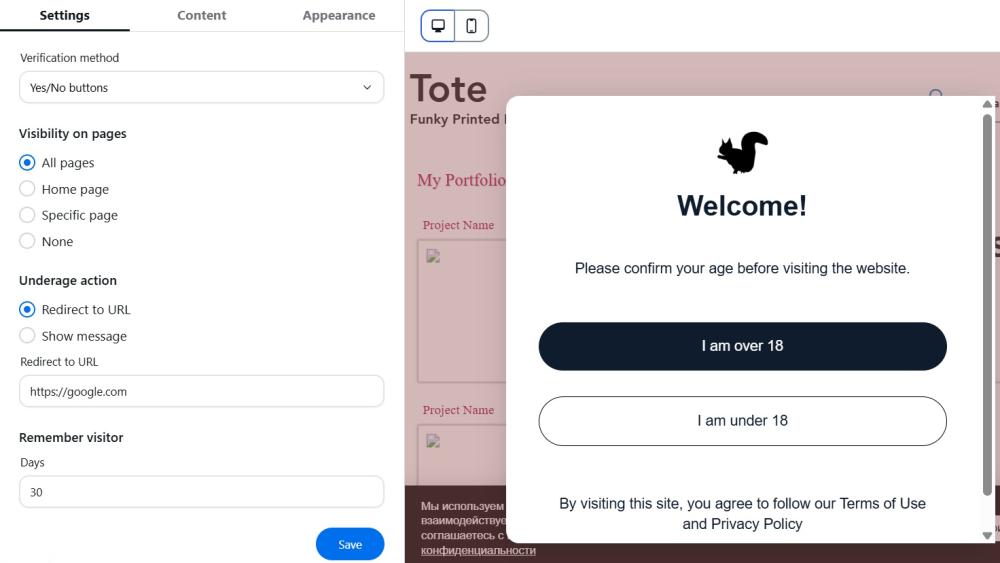
The app's interface is divided into two sections.
On the right, you’ll see a live preview showing your changes instantly. Here, you can switch between computer and mobile views to check how the popup looks on different devices. Changes are saved automatically as you make them, so no extra steps are required.
On the left, you'll see the app setup. It is divided into three sections: Settings, Content, and Appearance.
Settings
Specify the following settings for your age verification popup:

Verification method - choose how you'd like to verify visitors' ages: Yes/No buttons, Year of Birth, or Date of Birth.
Date format (for the Date of Birth verification method) - specify the preferred date format: DD/MM/YYYY or MM/DD/YYYY.
Minimum age (for the Date of Birth and the Year of Birth verification methods) - specify the minimum age required for users to browse your website.
Visibility on pages - specify where you want to display the age verification popup: All pages, Homepage, Specific Page (enter the URL), or None.
Note
You can display a popup on a group on specific pages by using a wildcard (*). Example: using 'https://example.com/products/*' will display the popup for all products. If you use 'https://example.com/products/*21*', the popup will be displayed for any product with '21' in the URL.
Underage action - Specify what should happen when an underage visitor is detected:
- Redirect to URL: Enter a URL where underage visitors will be directed.
Note: The URL must be valid and start with 'https://' or 'http://'. - Show a Message: Enter a custom message to be displayed to underage visitors without redirecting.
Remember visitor - specify how many days the app will remember the visitor's choice and not show the age verification popup.
Note
The maximum period for remembering visitor’s choice is 365 days.
Once you specified general settings, Save your changes.
Content
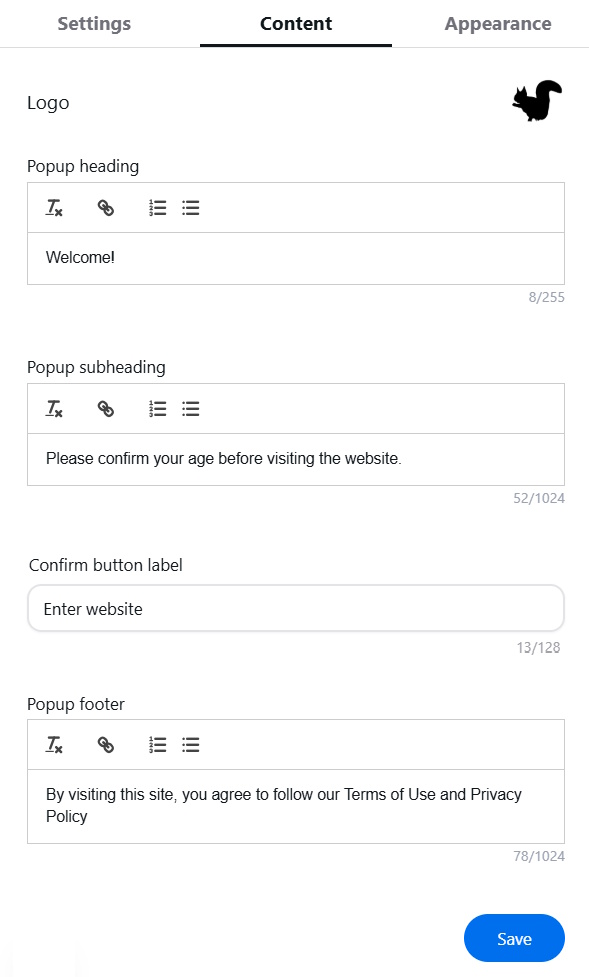
Go to the Content tab to customize the text and buttons shown on the popup.

Logo - click "Upload" to select an image for your logo, which will be displayed in the popup.
Popup heading - provide customers with a clear and concise headline of the popup when it appears on their screen.
Popup subheading - provide customers with additional context or information to support the main message in the popup.
Confirm button label - specify the text for a confirmations button.
Reject button label (visible only for the Yes/No verification method) - specify the text for rejection button.
Popup footer - add a section at the bottom of the popup, typically containing supplementary information, secondary actions, or navigation options.
Click Save to apply your changes.
Appearance
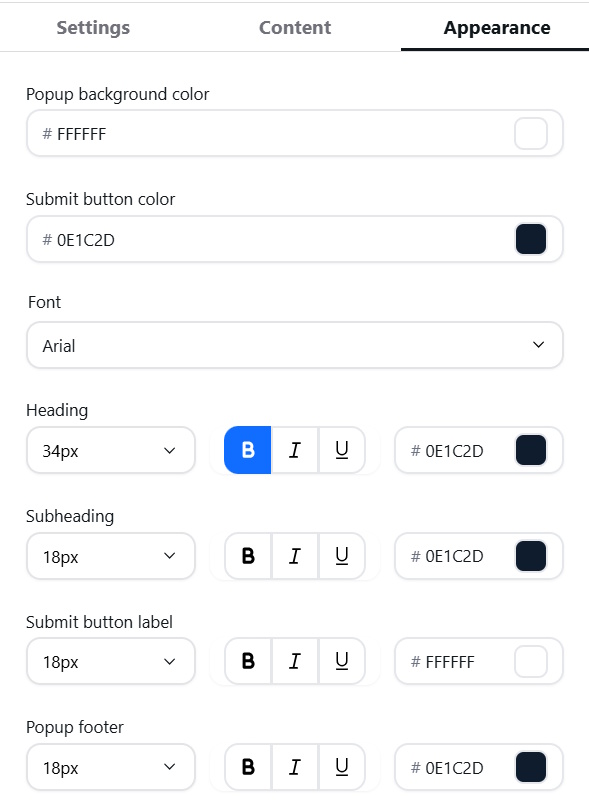
Open the Appearance tab to customize the popup's design.

Popup background color - set up a background color of the popup.
Confirm button color (Submit button color) - specify the text and color for the confirmation button.
Reject button color - specify the text and color for the rejection button.
Font - specify the font of the text in popup.
Then, you can customize the size, style (bold or italic), and color individually for the text of each element: heading, subheading, confirm button label, reject button label, and popup footer.

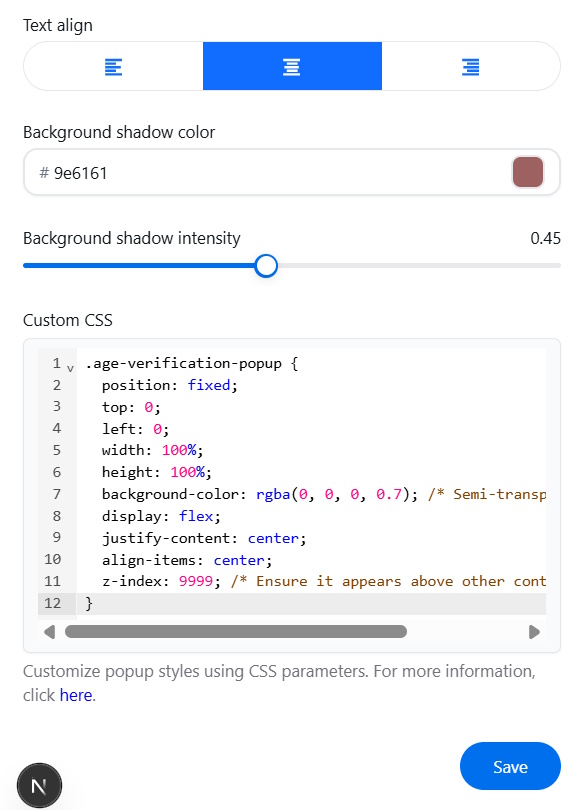
Text align - choose the alignment for the text.
Background shadow color - choose the color of the shadow surrounding the popup. This setting allows you to create a more visually appealing and integrated look for the popup.
Background shadow intensity - set the intensity of the shadow effect surrounding the popup.
Custom CSS - for advanced styling, you can use CSS code to customize the popup's appearance. A CSS code input field is provided for this purpose.
Click Save to confirm changes.
To see the preview, look on the right side of the app screen. Changes are displayed immediately.